Saturday, April 20, 2013

West Tennessee Art Education Association Conference

I have just returned from Memphis, Tennessee where I taught my first hands on teacher workshop. What an amazing experience! The participants were at the Memphis College of Art on a Saturday to be professionally developed in all things assessment.

I planned the activities with the idea of Experience before Label in mind. (Kudos to you if you recognize that Quantum Learning Key!) Anyway, I have sat through my share of "lectures" so I thought my fellow elementary folks would enjoy a little music, a little hands on and a whole lot of assessment!

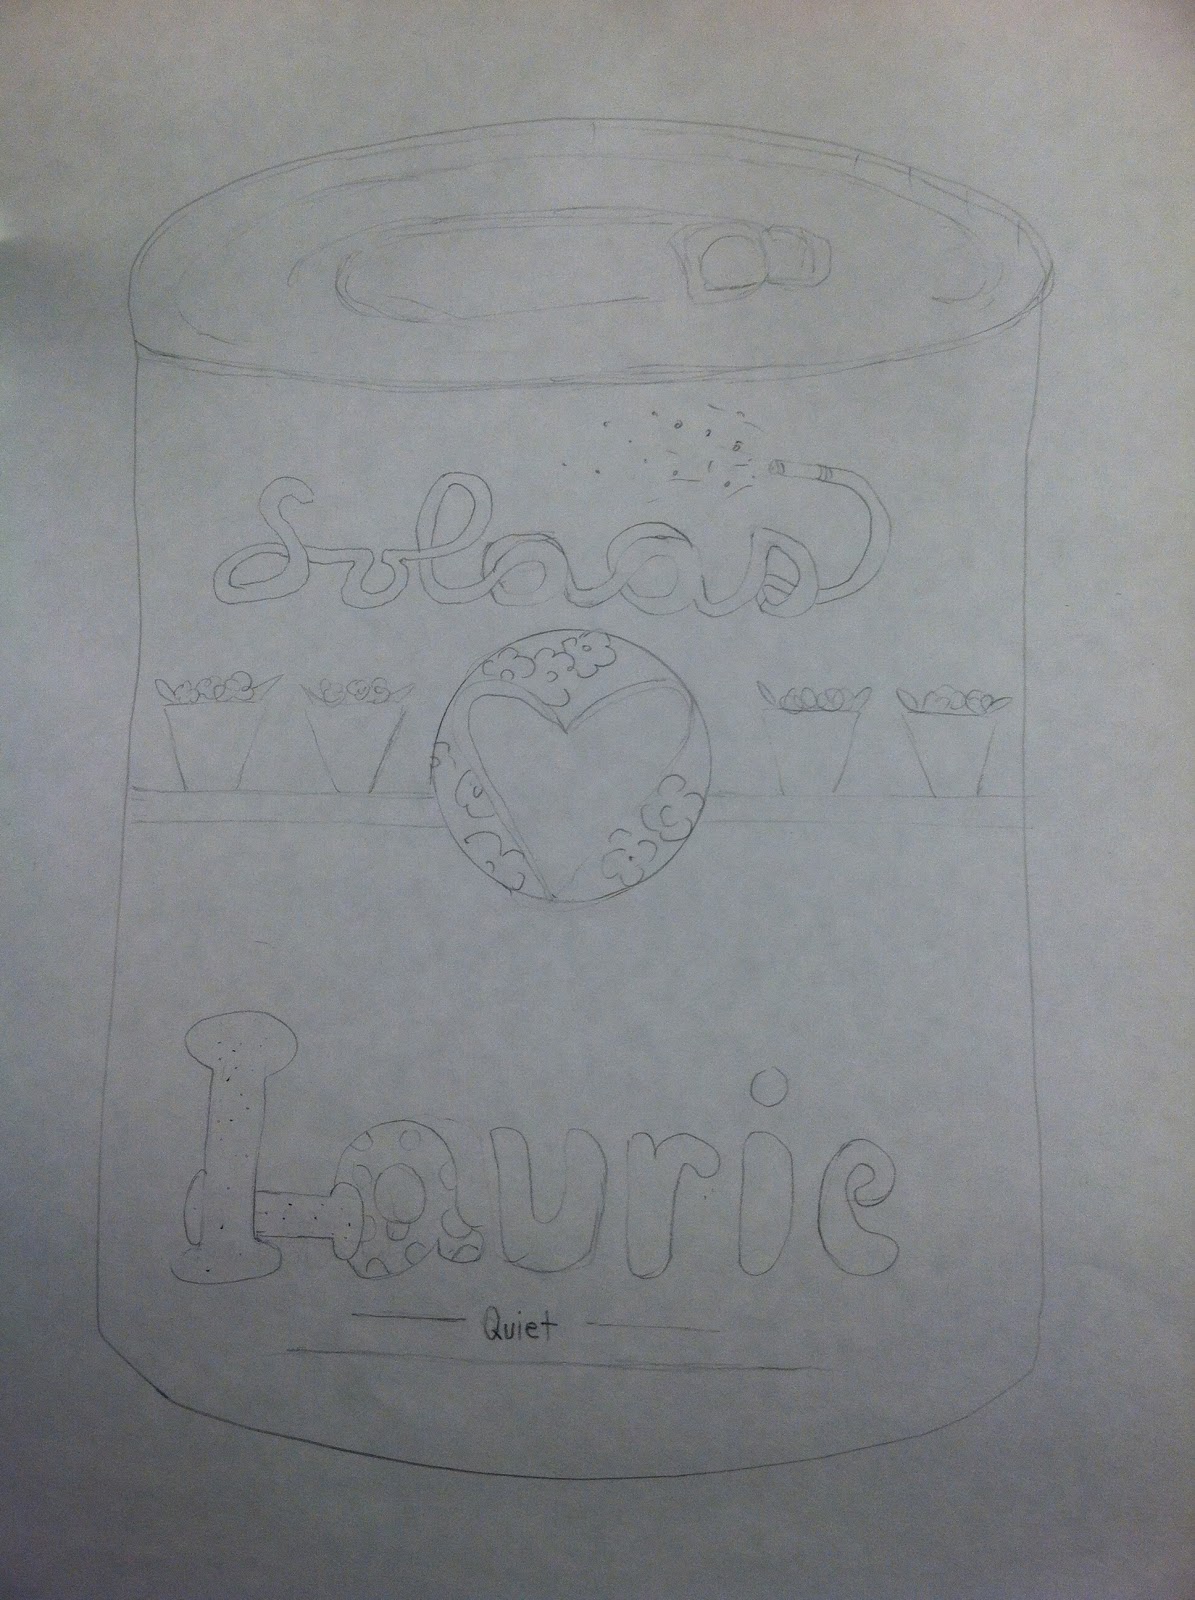
I modeled an Identity unit I developed several years ago in response to a Pop Art exhibit at our local museum. Designed for 4th graders, students explore the concept of Identity by looking at everyday objects and symbols. This lesson stretches the student's idea of what a self-portrait is beyond just the physical characteristics of the artists. By looking closely at non-traditional self-portraits as well as the work of Andy Warhol's use of repetition and variation. Embedded in this unit participants used idea books, essential questions, check lists, rubrics, and student self reflections. The feedback was very positive so I have decided to submit this model to NAEA 2014! Here are some of the work-in-progress that teachers created today! Imagine 100 Soup Can Self-portraits hanging together! The portraits, like people, look the same from a distance, but up close you realize that each one is an individual! Our students are not just numbers, a brick in the wall, they are people, each unique individuals.
3-D Soup Can- OH-YEAH!


So, what did I learn? 
  • I learned that I love teaching art teachers!
  • Well crafted units get the same response not matter what group you teach it to and that was just plain fun to be a part of!!
  • I have something valuable to share and so do you. 
  • We all find our voices in different ways at different times  and maybe I have found mine. 
  •  Being an ostrich (head in the sand) or a gazelle (running away) about scary stuff like assessment will not help you master it. By accepting the challenge, taking risks and trying something new, even failing, you show yourself and your students that you are a life-long-learner and you are not afraid to learn from your mistakes. What a great way to teach our students grit!!

Wednesday, April 17, 2013

Out of this World!

Ok- Get ready because this unit was so much fun! I found this idea in the January 2012 edition of School Arts called "Building a Better Robot". It was great...it was like a summer blockbuster movie, it had everything! Stamping with found objects (cheap, right?), elements of a landscape (at least the way I taught it), drawing, chalk, into to perspective/space, core review of the planets in our solar system, storytelling and imagination. It was a great find so I taught it to my 1st graders last year and it was a hit!
Well, this year I had an iPad and know how to use it, so I did. I borrowed some iPads from one of my first grade teachers who is very tech-y (Thanks Mr. Tanner!) and went to work. I photographed all of the backgrounds and robots before the classes came in and put them into Dropbox (I am so new at this I didn't even think it would work). I showed the kiddo's how to use an app called Puppet Pals. They imported the stamped robot as the actor and the background as the, well, background and then recorded a puppet show that gave information they wrote on their Mission Report, two facts about the robot and where it was "tested".


What did I learn:

  •  You need more than one iPad for sure and having control over the iPads for pre-work more than five minutes before the kids come in is really helpful. 1:2 worked for me (2 kids per 1 iPad)
  • You can export from quicktime to iMovie but not from Dropbox to iMove, that I know of-I'm new.
  • Six year olds still love to make funny noises especially when they are being recorded and the ones who will not be quiet during class to save a life will be the same children you can not hear on the video!
  • I have a big mouth- I can hear my own yapping in almost every video- I need a silent quiet sign for recording.
  • Everyone else is loud too...I we need to have a sound studio or a "recording zone" so that people don't get so much background noise in the recordings.
  • I hope this video shows- If not I will repost...did I mention I was new at this? 
I can say this, I am proud of my first attempt at bring iPads into the art room and I really did learn as much if not more than the kids did! (I even taught my tech-y teacher friend a thing or two that I discovered!) Woo-Whoo! 

Stay Art-Z my friends!


Tuesday, April 2, 2013

Assessment Tools for the Elementary Visual Arts Classroom

It is now online! I couldn't email the presentation that I used at this year's NAEA conference in Fort Worth because of it's size, but I have had a lot of requests for it. It has a lot of great visual examples that will be showing up on my blog soon, but in the mean time, here it is! I posted it on my Teacherpayteacher.com page. Don't worry, it's free!
TpT is a great site for resources if you haven't checked it out yet. I have used it to get ideas. For a dollar or two you can find some amazing, teacher-made resources. (It is kind of like a consignment sale.) You know what they say, time is money! Sometimes you have time to modify but not create and there are a lot of free things. The first thing you post has to be free. And it is free to sell too...you could earn some money for extra supplies!! Just saying!

Monday, March 18, 2013

Remembering Still Life

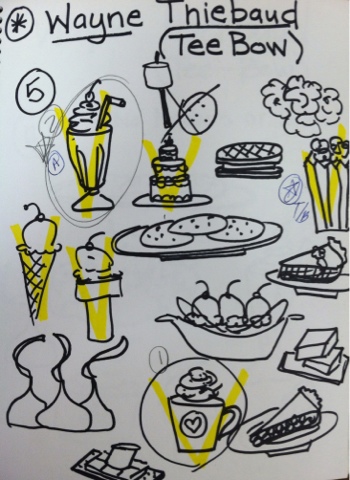
Recently my second graders have spent a lot of time on still life (yuck, right?) without complaining once! This is all thanks to American Painter, Wayne Thiebaud!
We have been on an media expedition. We drew still life, printed still life, collaged still life, embossed still life, and sculpted still life! Of course it was our favorite treats so there was no fussing about the subject matter! This year I finally figured out what big idea best fits this unit...memory! Food, like so many other sensory experiences is tied to memories. We talked a little about why these were our favorite snacks and students told me stories about that special thing that dad only makes on camping trips, or a special outing with grandma that ends in a treat. These memories are great ways for us to connect to the the world around us and even makes me find value in still life!! My plan is to as the students to include their memories in their artist statements after spring break to make this unit come to a sweet conclusion!


PS - I'm trying out the Blogger app while I'm on the road and I don't have much control over the format, but I included a link to a Sunday Morning segment. I wanted you to know what it was I case it came out longhand. ;)
http://m.youtube.com/#/watch?v=vI_QJ5D9Qm8&desktop_uri=%2Fwatch%3Fv%3DvI_QJ5D9Qm8


Sunday, March 10, 2013

Holy Cow! What a conference!

Art Teachers invaded Texas this week and it was a sight to behold!! I met so many amazing art teachers. The week was inspiring, informative and exhausting in that incredibly rewarding way. I really want to say thank you to everyone who came out to see my presentation and those who stopped me to share positive and encouraging thoughts. You did not run screaming from the building and you crossed Hell's Half Acre to find my location on the other side of the area!

So, what did I learn?

  • First, I learned some things from Super Blog-Star, Mr. E, that I can do to make this Blog more interesting or more helpful to others. I hope you will offer comments to help me grow in this area as well. 
  • I learned fun art-making tricks (cheap and easy) from some of you and vendor-sponsered educators to incorporate more processes into my classroom

Printmaking meets under glaze!
Marble paper with chalk pastel, water and a plastic knife!

    Dale Pohl did an amazing community printmaking (free-you know-non ticketed) session. She uses acrylic paint and sponge brushes (aka Cheap & Easy)! The kids can build little neighborhoods by printing on each other's papers! Limitless applications!!!

  • I learned how to move into the "advanced class" using Artsonia's new features from Susan Bivona and Theresa McGee. I also met the Artsonia folks in person (sorry the picture is fuzzy) and some other amazing Artsonia teachers who have "the fever"!
Some of our TN art teachers with Eric, Dave and Jim from Artsonia HQ
I could keep going on but unlike some bloggy-art teachers I know, I actually need to sleep and before I can do that this Mommy needs to go play x-box-kennects boxing with her kiddos (4 and 7). They can't wait to knock me out! I'm cool with that because this week was a knock out too! Peace.

Monday, February 25, 2013

Assessment Season

Well, here in Tennessee it is Assessment Season. This is the time when March Madness refers to everyone scrambling and cramming for "the test". I am gearing up for 3rd quarter report cards and heading to NAEA next week to present some things on assessment (Assessment tools for the Elementary Art Classroom, Thursday at 2:00pm if you will be in Fort Worth) so I thought I would get warmed up here first.

One tool I like to use in my classroom is an Idea Book. This is the new cover for next year. I found it helpful to add the table designation to save time. That way when I'm passing them out I just need to look at the table instead of finding each child by name. I can also have them out on the table when they come in without have 25-30 seating charts memorized.
I teach 1st-4th using enduring themes whenever possible so I only use the idea books with these grade levels, not with Kindergarten. When I intro a unit, I usually start with questions. I type these up and print them out (usually 2 or 3 sets to a page so it is less copies). This saves time because the children are not copying from the board which uses valuable class time. This also diversifies the instruction because students can see the question in front of them, on the big screen as well as hear/read it. We do our practice sketches in this book too. They are super cheap to make. I use 5 sheets of 11x17 with one colored sheet for the cover. Fold it in half with two staples on the fold and you have a super cheap idea book, color coded by grade level with 10 pages, or 20 front and back! It's use creates a portfolio of thinking and shows how students grow both in process and over time. 

The idea book becomes the pre-test and the completed work is the post-test to show student growth.  Another way that I gauge student growth is by using student self-assessment or reflection. This comes in many forms but my favorite for its speed and simplicity is a checklist.
This is my son's paper rug. 
In this example I give students four "I" statements and they respond "yes", "sort of" or "no". This helps me to understand if the students recognize and can use the weaving vocabulary in written and verbal form. I observe the verbal in class while the rug is being created as well as listen to them while they fill out the student evaluation. This is a first grade example so I do read through the statements with them to be sure that lack of reading skills does not keep them from showing what they know. At the bottom I added a matching section for students to recall the process of weaving. This worked better than last year when I had them number the statements.

I also use fill-in-the-blank with first and second. This is another first grade example. I know it is harder to picture it with the younger ones. In this innovation unit, students designed a "robot" and stamped it with found objects. The robot had to be specifically designed for a planet or location in space. Students then created an outer-space landscape using markers and pastel and glued in the robot where it made the most sense on the picture plane. They love this one- they have a chance to tell the viewer what the robot was designed to do and what changes need to be made to the design, if any. The mission report is a quick way to allow students to reflect on what they have learned and created through art. 
I also use Artsonia.com, the online student art gallery. It is amazing to see the growth and progress over the years. Of course we have no way of storing a self-portrait each year for five years and even if we could some of our schools are so transient that you could never keep track of them all. This way, Artsonia archives all the work for you. Here are two portraits by Maggie, one in Kindergarten and one in Third grade. It is amazing to see the growth there!


Check out my school on Artsonia.com           http://www.artsonia.com/schools/school.asp?id=76429 


Monday, February 11, 2013

Art is a work of Heart!


 First you should know that I love Jim Dine! His work is so fun and kid friendly. He uses everyday objects and recognizable shapes to create works of art. His pieces often have bright colors and repetition. Like I said, fun and kid friendly. We focused on his many works featuring hearts because my kindergarten student's have an art show opening this week at our local Regal Cinema. 


So, how did we do it? First we reviewed mixing tints and introduced warm and cool colors. Students painted tints of cool colors on dark blue paper and with the white added it really makes the tints pop! 

Then the students drew three hearts. We talked about scale and how one should be much larger than the other. Once they were draw we reviewed patterns (great early math skill!) and they created patterns using only warm colors. 

Finally, we talked about balance and focal point (using the largest heart and showing if they understand the size relationships). Students arranged the hearts to create visual       balance. They could overlap (which is introduced) or use position on the picture plane (move the hearts up and down).


The individual pieces are beautiful and unique but I always love to see the whole grade level up together, all 110 or so of them!

We will open our show Wednesday night, February 13th and fill the lobby with kindergarten artists and their families! Our reception provides movie popcorn donated by our host, Regal 16 in Green Hills, and lemonade donated by our parents. It is an amazing experience to see the students show off and explain what they have learned and created through art!